Art in Practice: PRINTMAKING - Part 2
Join me for a deep-dive into fun and easy printmaking techniques, perfect for home or an educational setting.
My approach to creativity is all about exploration, playfulness and learning through the process of making art. It’s not about being perfect or even the end result at times. It’s about the journey. Thank you for joining me as we embrace the mess and explore together.
Each month I will delve into an art practice or artists work offering multiple techniques for you to experiment with, inspiration for projects, a list of supplies and book recommendations.
This months deep-dive is all about printmaking. I offer project ideas suitable for little ones 4+ up to adults. Printing, in all its forms, is one of my most favourite art practices. There is something about the anticipation felt when revealing the print that gets me every time.
I got a bit excited and created lots of examples, so I have split this months ‘Art in Practice’ post into two parts; you are currently reading Part 2, be sure to check out Part 1!
(Note: In these posts I occasionally share Amazon affiliate links so you can find the books or art supplies we use. But if you can, please consider supporting your local bookstore or art supply shop.)
GELLI PRINTS - with stencils
Gelli prints are so much fun. These silicone printing plates are a little expensive to purchase, but they can be use over and over again for a really long time, if you take care of them. Below, I offer a cheaper variation on the project, just using a ceramic tile instead.
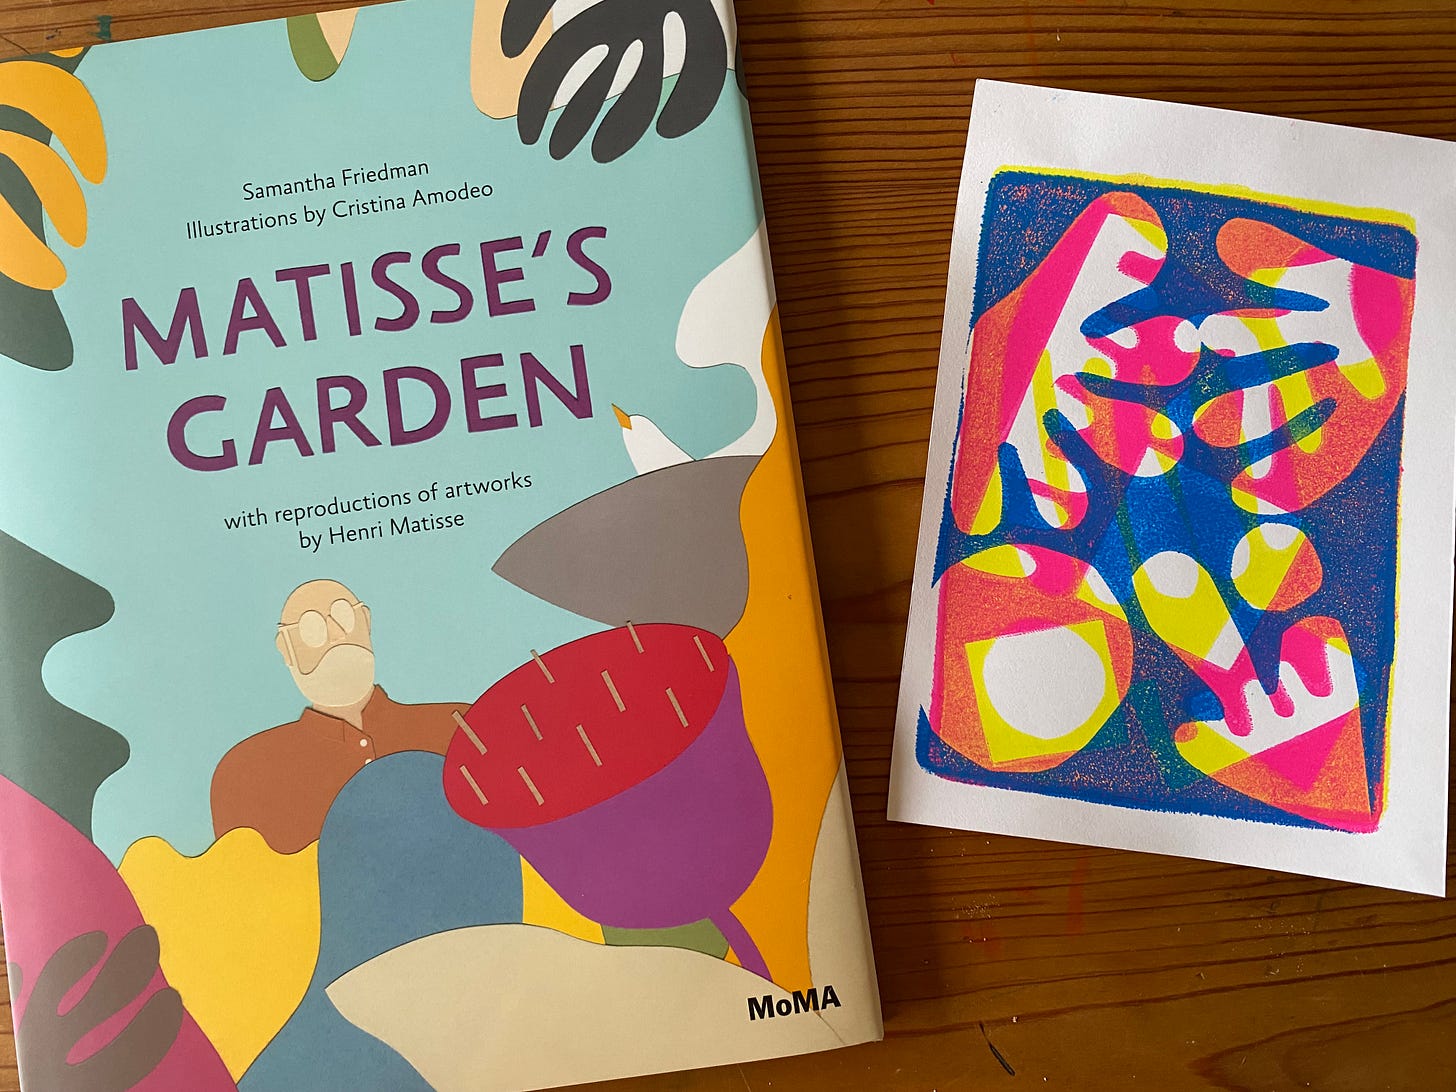
There are lots of really cool printing techniques you can use with Gelli plates, but this time we are keeping it simple and making paper stencils inspired by Matisse’s cutouts. We love the children’s book Matisse’s Garden for inspiration.
This a fantastic project for all ages 7+, including adults. I encourage you to experiment and be playful, let go of any preconceived notions of what art ‘should’ look like and just have fun.
MATERIALS:
Gelli Arts printing plate (ours is 13x19cm)
Cartridge paper
Scissors
HOW TO:
Put a blob of acrylic printing ink onto the Gelli plate and spread using the roller until you have a thin, even coating. Too much ink will produce a messy result and too little won’t cover the plate evenly. After a little experimenting, you will work out how much ink you need to cover your printing plate.
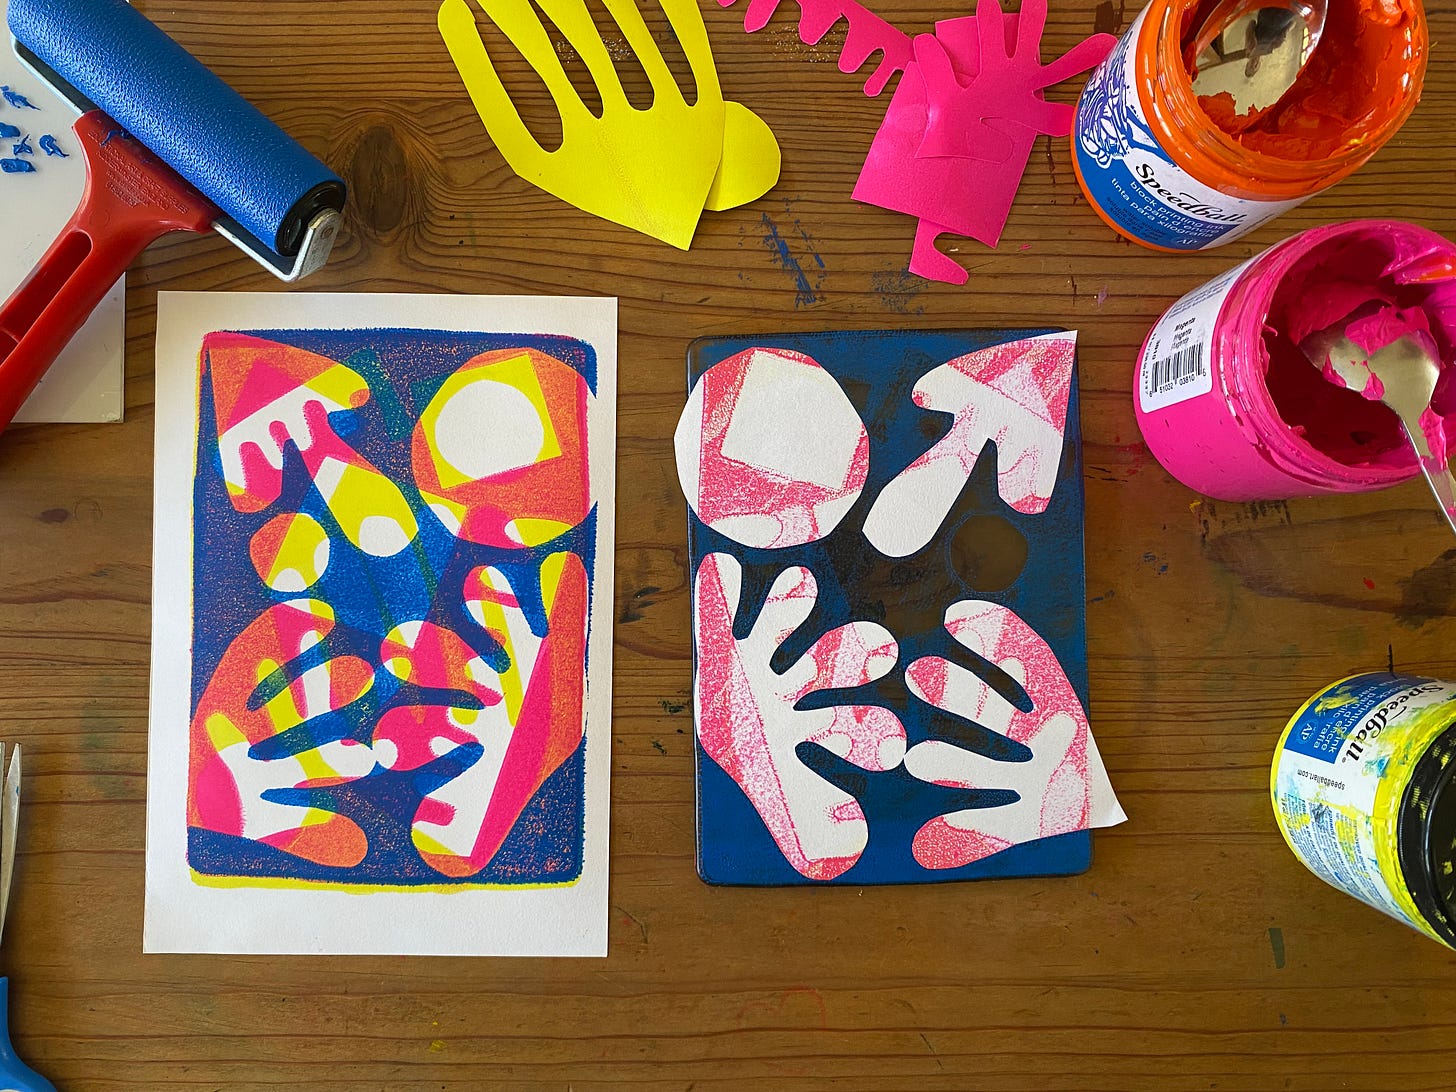
Cut out shapes from paper and carefully place the shapes onto the printing plate. The areas where you place the stencils will be white in your print. Gently lay your paper on top and press firmly all over with the palm of your hand.
Carefully peal off the paper to reveal your print. Wipe the printing plate clean with damp kitchen towel or cloth. Repeat the process with a different colour and new stencil shapes. Take care to line your paper up in the same position over the printing block each time.
For my print, I added 3 layers of colours, starting with the palest colour first. Check out my video demo below.
VARIATION: Stencil prints with tiles
If you don’t have a Gelli printing plate, you can create a similar effect using a tile or upturned baking tray. The stencil shapes don’t come out quite as sharp on the print as they do with the Gelli plates, but they still look nice. Just follow the same process as above. We used a ceramic tile in this example.
BLOCK PRINTS
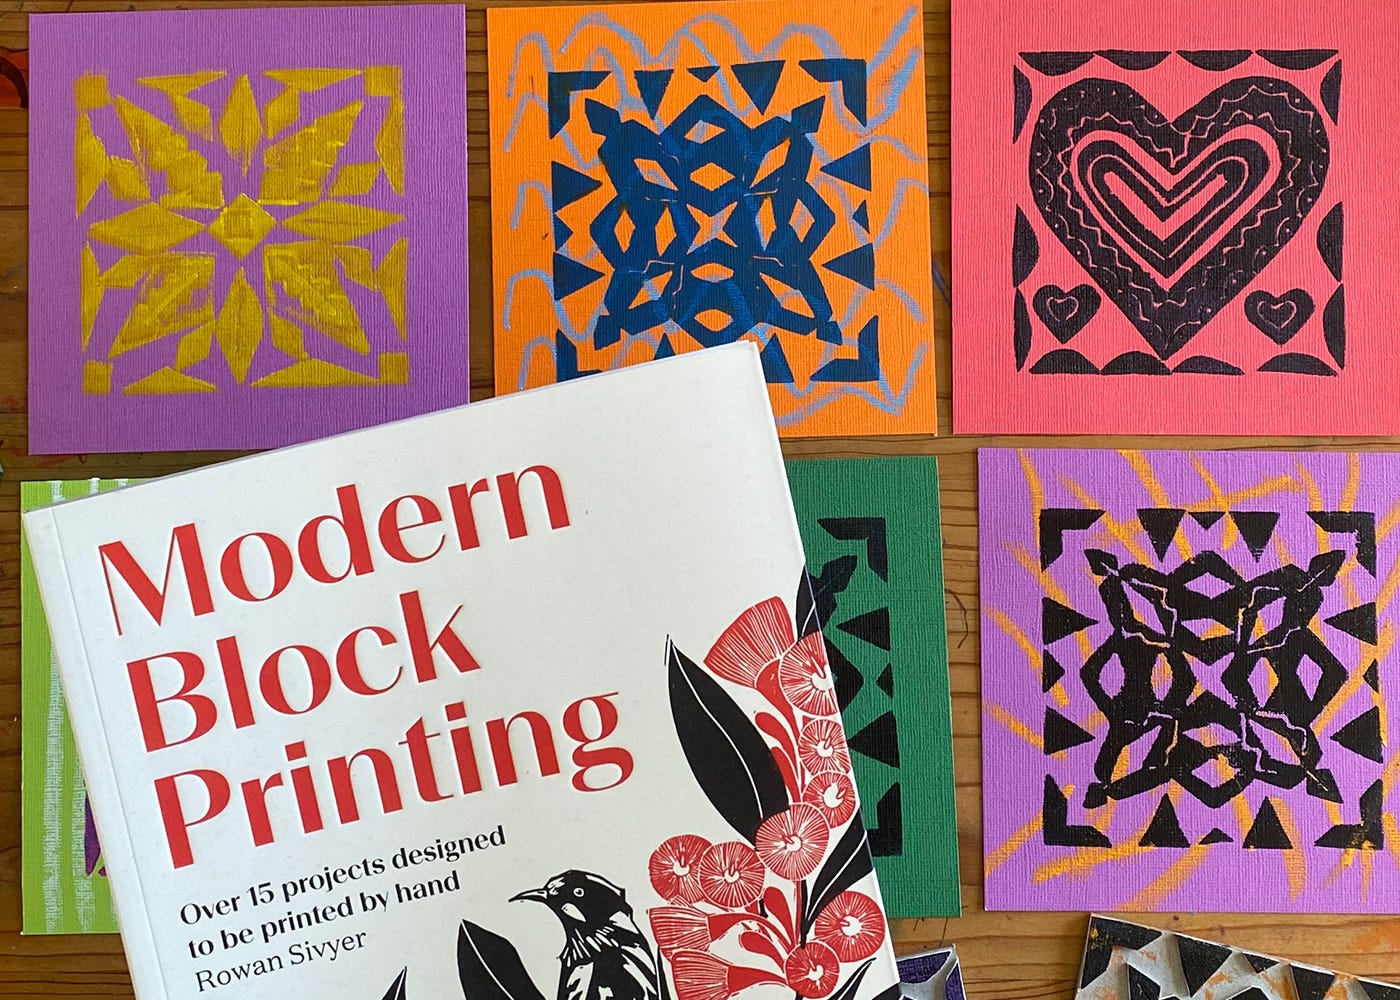
There are so many variations of block printing techniques. If you want to delve deeper, I recommend checking out the book Modern Block Printing. To keep our projects quick, easy and relatively cheap, we used a cardboard base with sticky backed foam shapes. If you want to make your printing blocks washable and reusable many times, use MDF or plywood for the base instead.
MATERIALS:
Thick cardboard - we used the back of an old sketch pad (Use MDF or plywood if you want to make your printing plates more durable)
Scissors
Pencil or ball point pen
Roller and flat surface to spread ink (I use a sheet of acrylic, but a tray or tile would work fine as an inking block)
Cartridge paper or coloured card
Watercolour paints (optional)
HOW TO:
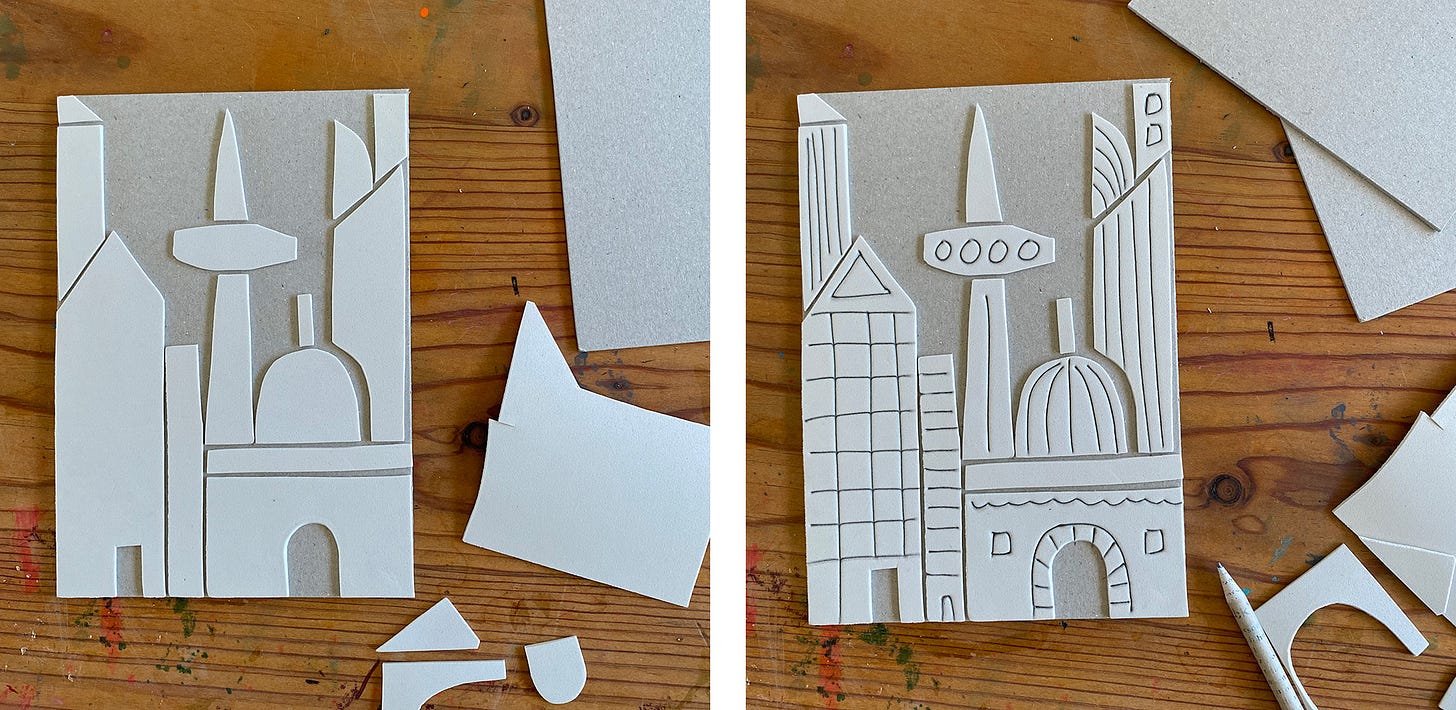
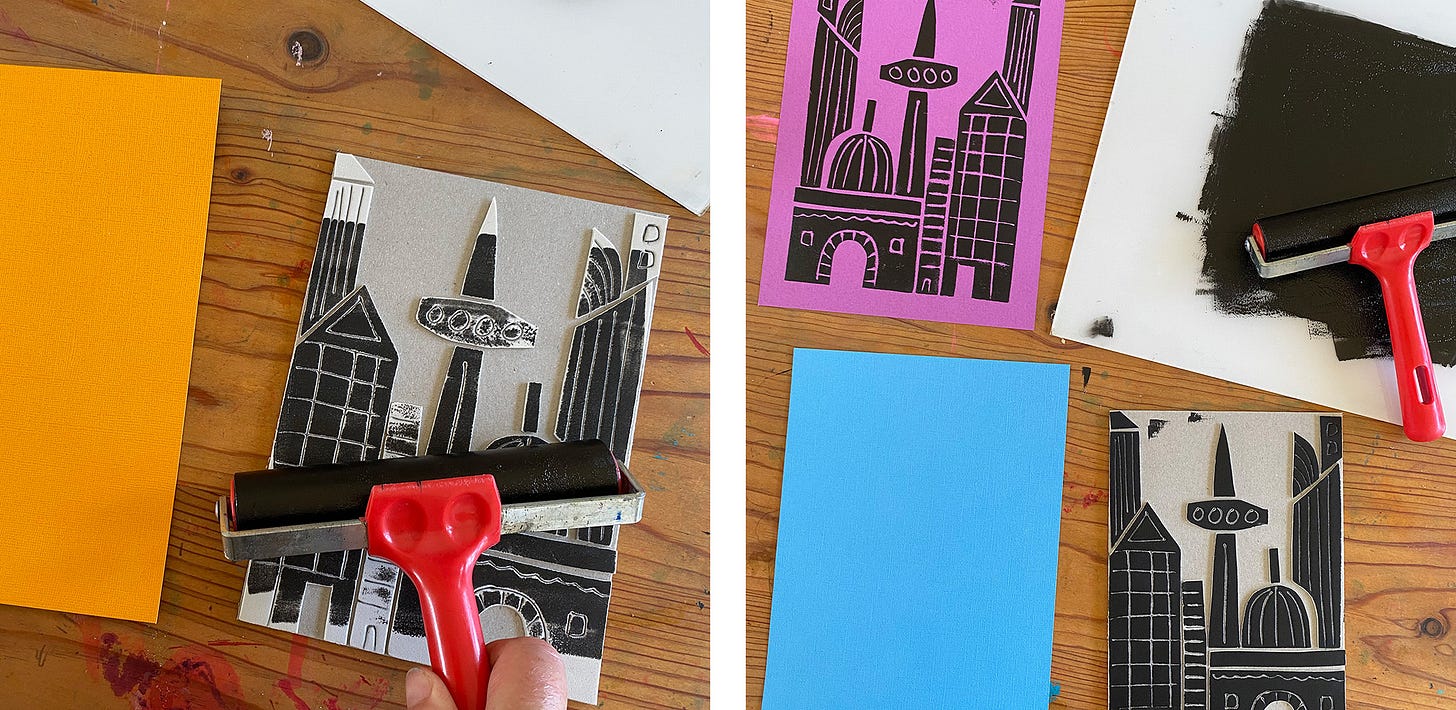
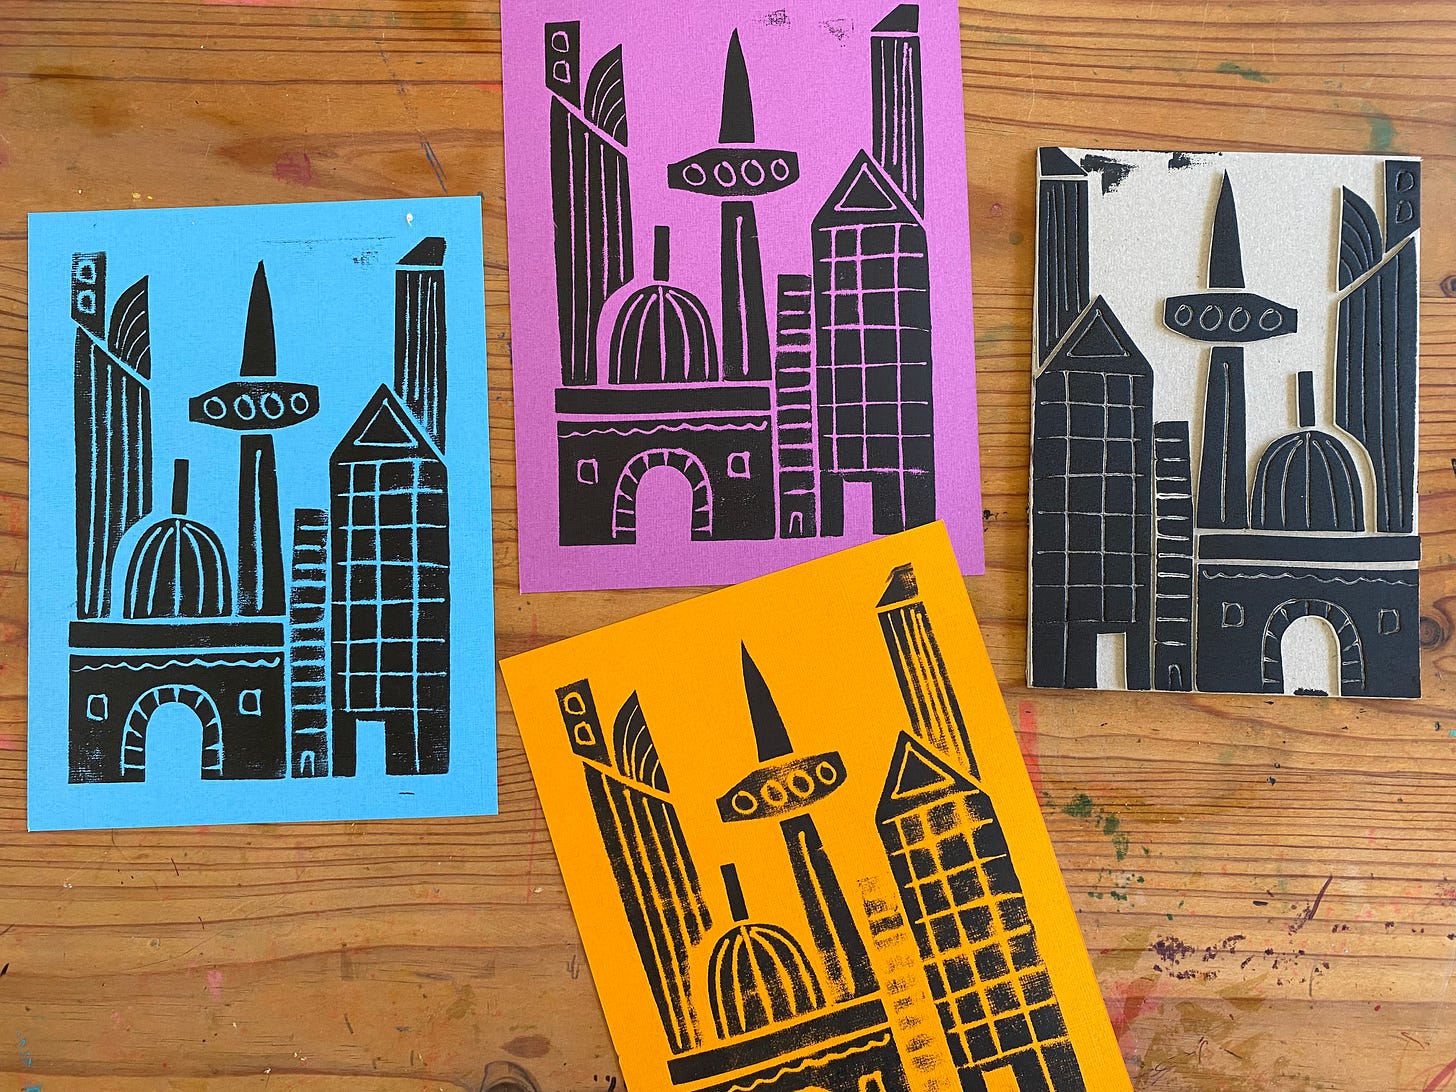
Using a thick piece of cardboard (or wood) as a base, cut shapes from the sticky backed foam and apply them to the card. I created a city scene for this printing block. Add details by making indentation into the foam with a pencil or ball point pen.
Put acrylic printing ink onto your inking block and spread until you have an even covering on your roller. Apply an even coat of ink onto your foam printing block.
Place the printing block onto the paper and press down firmly with your palm. Remove the printing block to reveal your print. I used black ink on coloured background which creates a cool silhouette effect.
My top tip for creating great prints is to keep your hands and printing area as clean as possible to avoid stray finger prints or ink smudges on the edges of your paper.
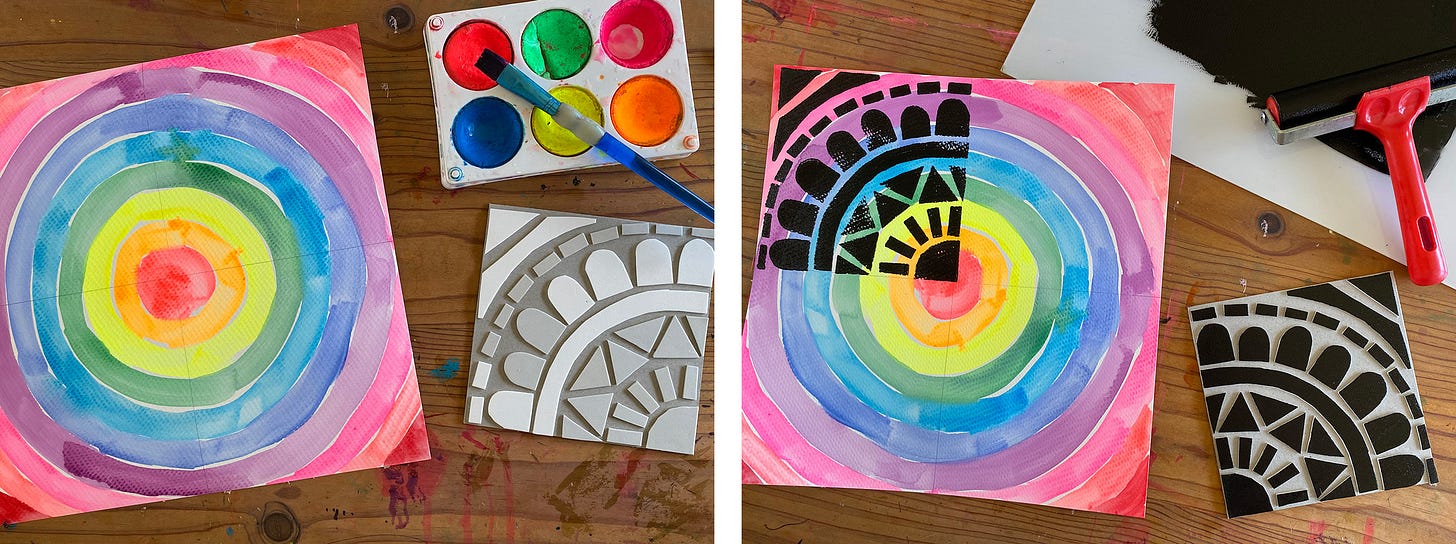
VARIATION: Mandala prints
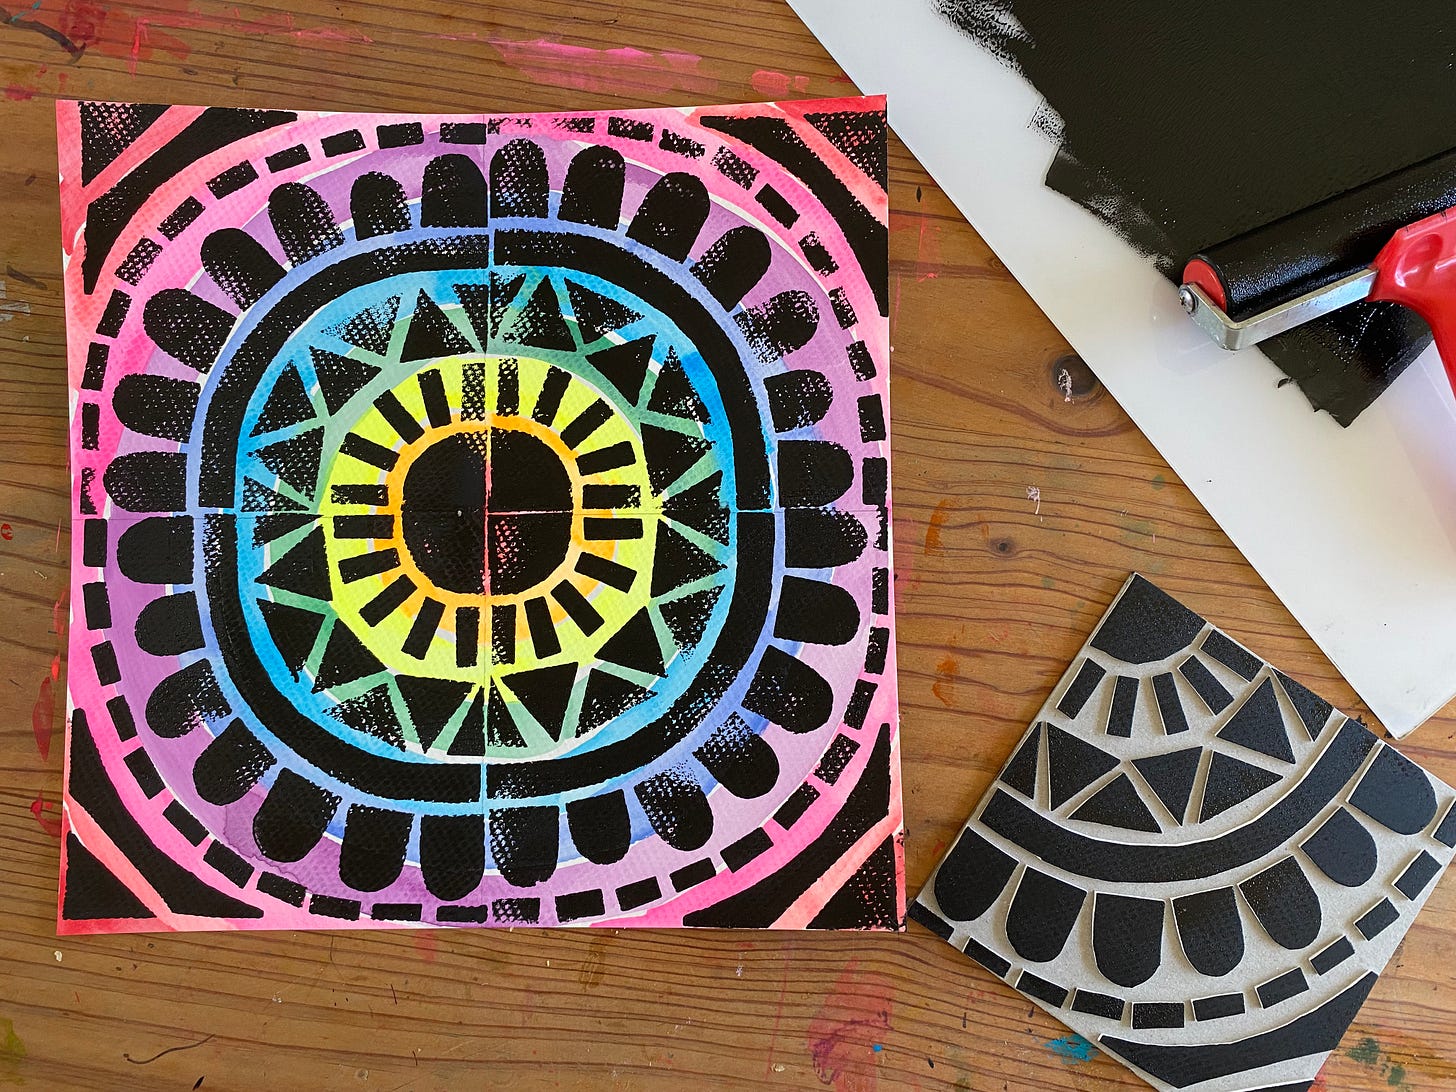
For this project, I used the same technique to create my printing block but made the pattern form one quarter of a mandala design. Before printing I painted a circular rainbow in watercolours onto the paper. I then printed each section of the mandala design with black ink.
VARIATION: Printed gift cards
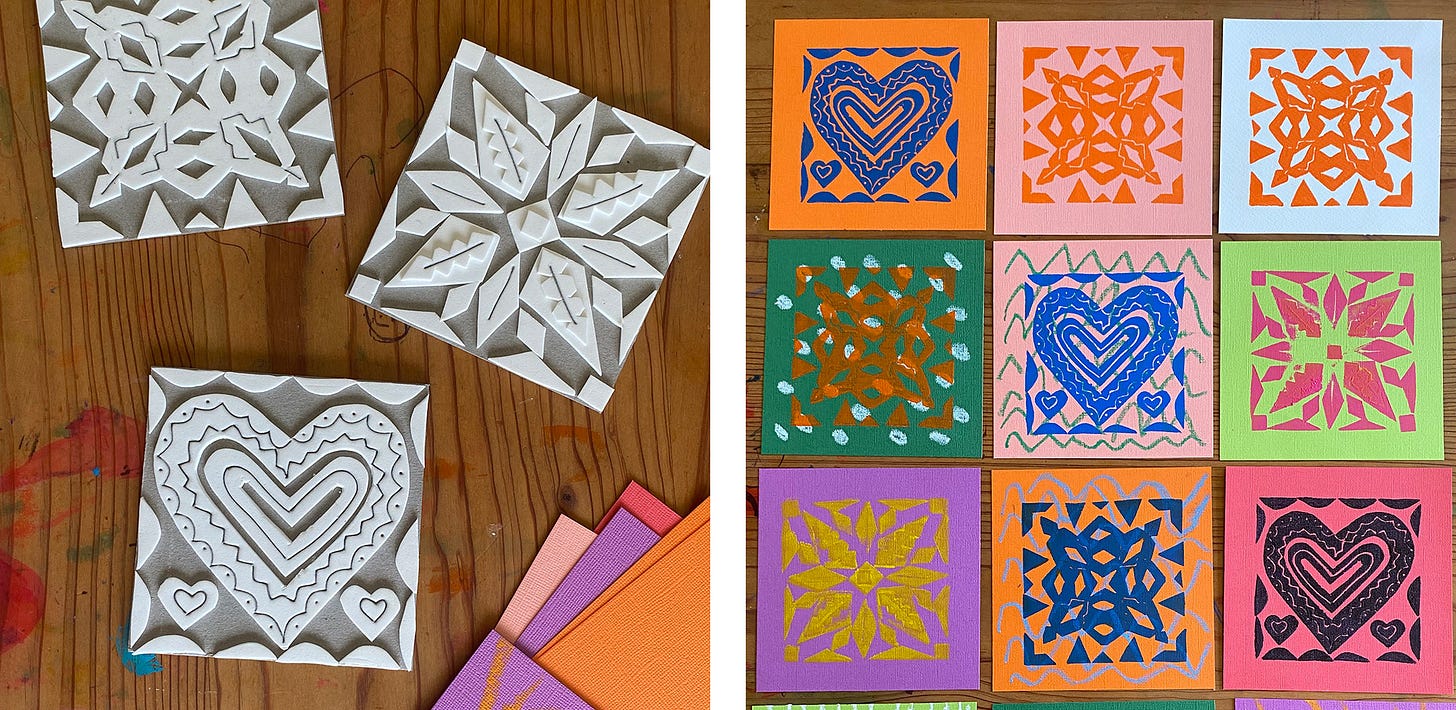
To create these gift cards, I used the same technique making my printing block from foam and card, but printed onto coloured folded cards.
For more printing ideas, we love the book Modern Block Printing which you can find on my website MINIMADTHINGS.COM
Thank you for joining me on this deep-dive into printing. If you missed it, check out Part 1 here.
If you try any of our projects, let me know how they go and leave a comment below.



These are lovely pieces and ideas! I’m definitely a lover of printmaking of all varieties. We have tried a foam plate or meat tray printing technique but I love the sticky back foam idea!
Gelli plate is addictive. The options are endless!
We love the Gelli plates too, so many creative possibilities